Creating a Flow
Every app has at least one flow. Each flow can be attached to one or more triggers. You have the option to first create a blank flow (a flow without a trigger) and then attach the flow to one or more triggers. On the App Details page, click Create to create the first flow in an app.
Before creating a flow that uses connectors, ensure that you create the required connections. For more information, see created the necessary connections.
For flows that are attached to multiple triggers, you cannot disable a trigger. Specify a particular trigger to run. Or, specify the order in which the triggers run. When a flow runs, all triggers get initialized in the order that they appear within the flow.
When using the Lambda, S3, or Gateway triggers, keep the following in mind:
- You can have only one Lambda trigger. An app that has a Lambda trigger cannot contain any other triggers including another Lambda trigger. Also, as the Lambda trigger supports only one handler per trigger, it can have only one flow attached to it. However, the apps that contain a Lambda trigger can contain blank flows that can serve as subflows for the flow attached to the Lambda trigger.
- You can have only one S3 trigger in an app. An app that has an S3 trigger cannot contain any other triggers including another S3 trigger. The S3 trigger supports multiple handlers (flows), so you can have multiple flows in the app that are attached to the same S3 trigger. You can also have blank flows in the app, which can serve as subflows for the flows that are attached to the S3 trigger.
- You can have only one Gateway trigger in an app. An app that has a Gateway trigger cannot contain any other triggers including another Gateway trigger. The Gateway trigger supports multiple handlers (flows), so you can have multiple flows in the app that are attached to the same Gateway trigger. You can also have blank flows in the app, which can serve as subflows for the flows that are attached to the Gateway trigger.
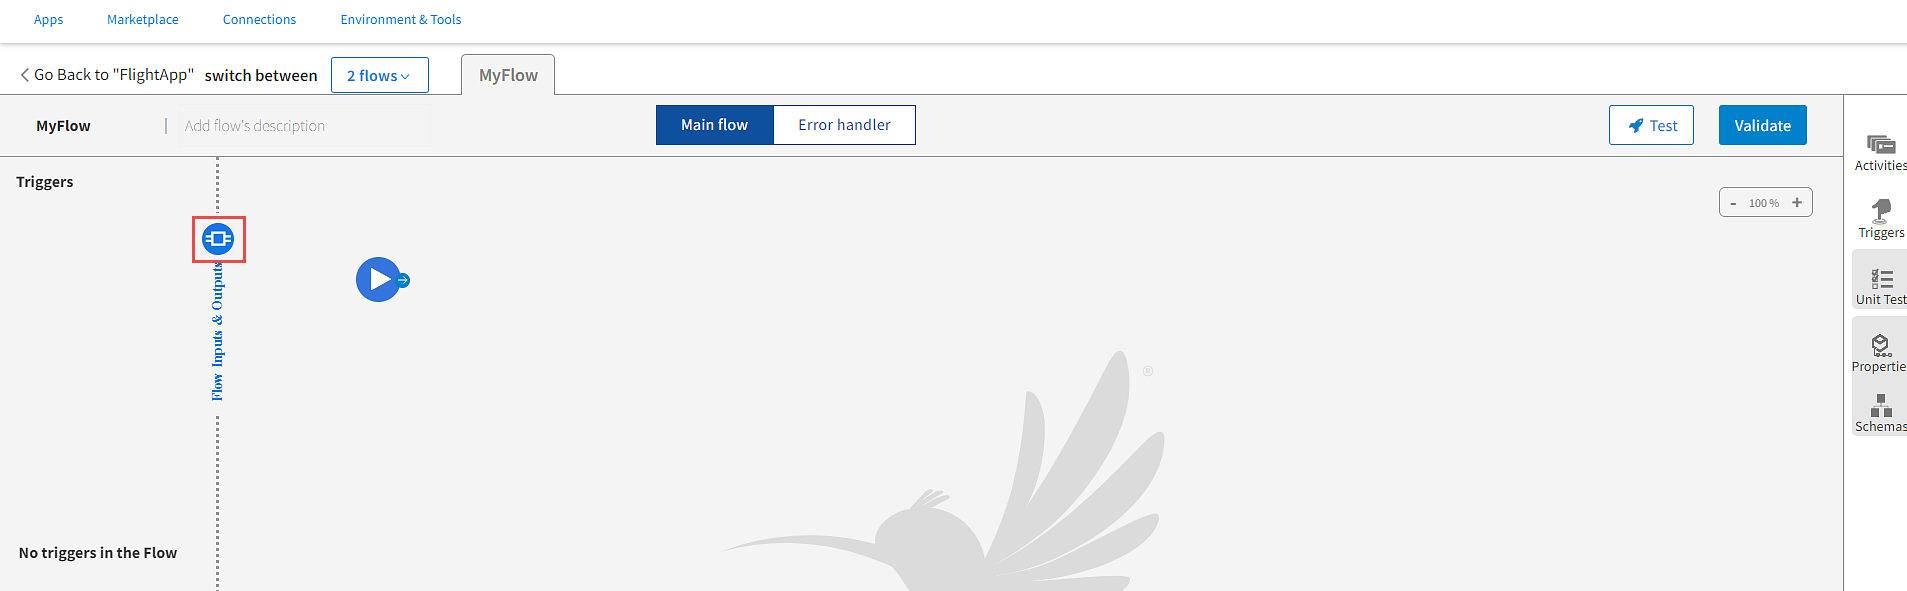
The output of a trigger provides the input to the flow. Hence, it must be mapped to the flow input. When creating a flow without a trigger, there must be a well-defined contract within the flow that specifies the input to the flow and the output expected after the flow completes execution. You define this contract in the Flow Inputs & Outputs dialog. The Flow Inputs & Outputs contract works as a bridge between the flow and the trigger, hence every trigger has to be configured to map its output to the Input parameters defined in Flow Inputs & Outputs. You do this on the Map to Flow Inputs tab of the trigger.
Likewise, for triggers (such as the ReceiveHTTPMessage REST trigger) that send back a reply to the caller, the trigger reply must be mapped to the flow outputs (parameters configured on the Output tab of the Flow Inputs & Outputs accordion tab). You do this mapping on the Map from Flow Outputs tab of the trigger.
A Return Activity is not added by default. Depending on your requirements, you must add and configure the Return Activity manually. For example, if any trigger needs to send a response back to a server, its output must be mapped to the output of the Return Activity in the flow.
The Map Outputs tab of the Return Activity displays the flow output schema that you configured on the Output tab of the Flow Inputs & Outputs accordion tab. The Map from Flow Output tab of the trigger constitutes the trigger reply. This tab also displays the flow output schema that you configured on the Output tab of the Flow Inputs & Outputs accordion tab.
Perform the following steps when using a ReceiveHTTPMessage REST trigger:
- Add a Return Activity at the end of the flow.
- On the Map Outputs tab of the Return Activity, map the elements in the schema to the data coming from the upstream activities.
- On the Map from Flow Output tab of the trigger, map the trigger reply elements to the flow output elements.
Follow these steps to create a flow:
- Procedure
- On the Apps page, Click an
app nameto open its page. - Under the Flows page, click Create . The Add triggers and flows dialog opens.
- Enter a name for the flow in the Name text box. Flow names within an app must be unique. An app cannot contain two flows with the same name.
- Optionally, enter a brief description of what the flow does in the Description text box. The Flow option is selected by default. To create a flow from a specification, select the specification under Start with and refer to the appropriate section under Building APIs.
- Click Create. The Flow gets created.
- After a Flow is created, you can start with either of the following actions:
- Start with a trigger - If you know the trigger with which you want to activate the flow, select this option. Select a trigger from the Triggers palette. For more details on the type of trigger that you want to create, see the relevant section in the Starting with a Trigger topic. If there are existing flows attached to triggers, you are prompted to either use an existing trigger or use a new trigger that has not been used in an existing flow within the app.
- Configure flow inputs and outputs - Select this option if you know the algorithm for the flow, but do not yet know the circumstances that cause the flow to run. It creates a blank flow that is not attached to any trigger. Flow inputs and outputs create a contract between the trigger and the flow. When you create a trigger, you must map the output of the trigger to the input of the flow. This contract serves as a bridge between the trigger and the flow. You have the option to attach your flow to one or more triggers at any later time after the flow has been created.
If you selected Start with a trigger, the flow is attached to the trigger you selected. If you selected Configure flow inputs and outputs, a blank flow without a trigger gets created.
Note: StartActivity is a special activity that is always added to the newly created flows.