Configuring a Launch Configuration
When you click a Launch Configuration name, its mapper opens to its right. The mapper displays the input tree in the left pane.
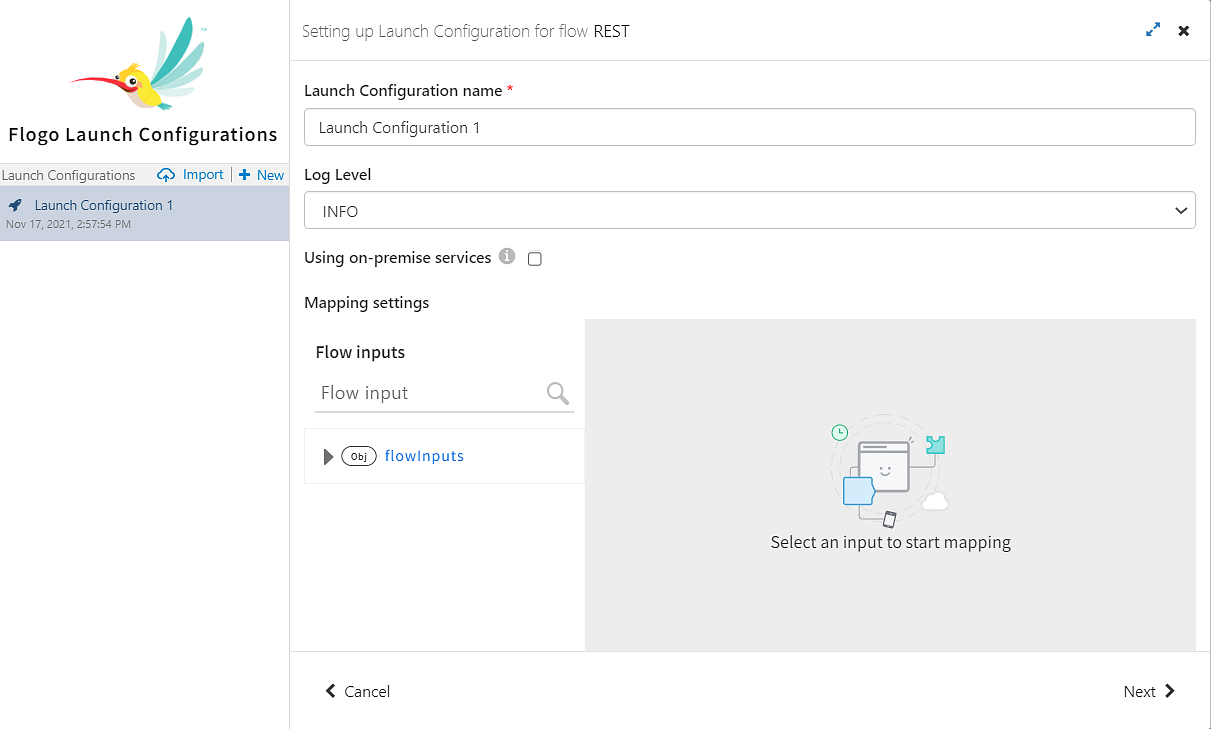
- Procedure
- Select Using on-premise services if you want to test apps that connect to on-premise systems. Note: Before you select this check box, enable the
flogotesterservice for your organization using the API. - To configure the mapping, expand the input tree in the left pane.
- Click an element to add a value to the element.
- Enter the value for that element in the text box to its right.
When entering values for the elements, be aware of the following:
- The input tree for a Launch Configuration mapper displays the input you configured on the Flow Inputs & Outputs accordion tab for blank flows. For flows created with a trigger, it displays the output schema of the trigger.
- For flow inputs that contain only single objects, you must enter the input values at the root level. The example below shows how to enter the values for a single object,
Customer: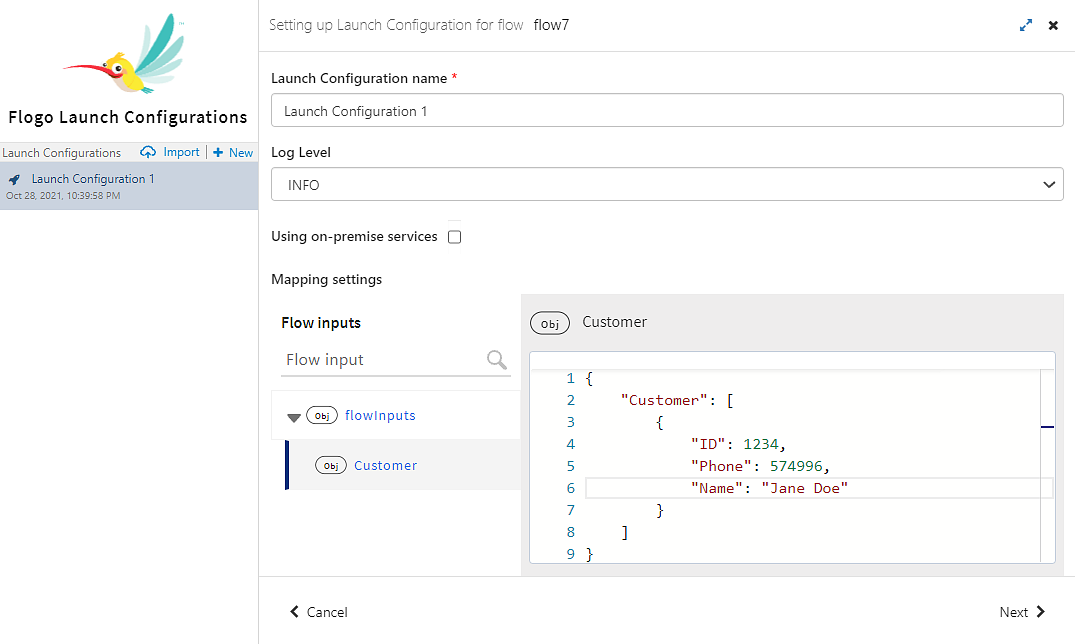
- When mapping an array of objects, the input must be provided at the array root level, which means that you must provide input for all objects in the array by clicking on the root of the array. You cannot configure the input at the array element level.
In the example below, theCustomeris an array of objects. Each object within theCustomerarray containsID,Phone, andNameelements. When providing values forCustomer, you cannot give the input at the element (ID,Phone, orName) level. Doing so does not specify the index of theCustomerobject for which you are assigning the value(s). Hence, you must assign the value to the wholeCustomerobject. Because theCustomerarray has multiple objects, assign values to each object in theCustomerarray by separating the objects with a comma delimiter. The array size is determined based on the number of objects for which you provide values. In the example below, the array size is two because there are two objects for which values have been provided.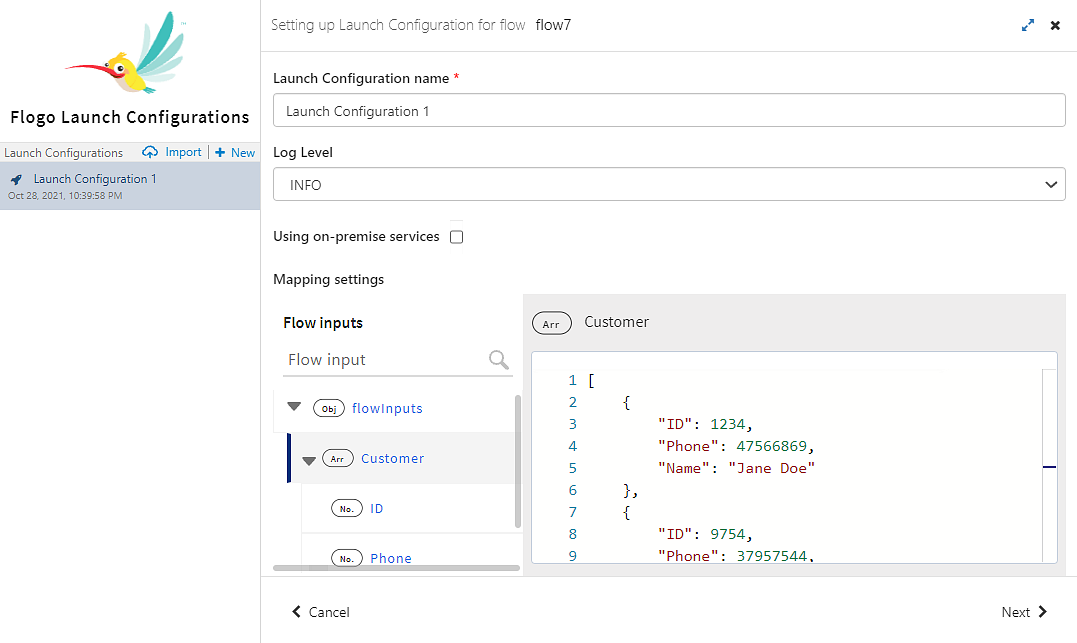
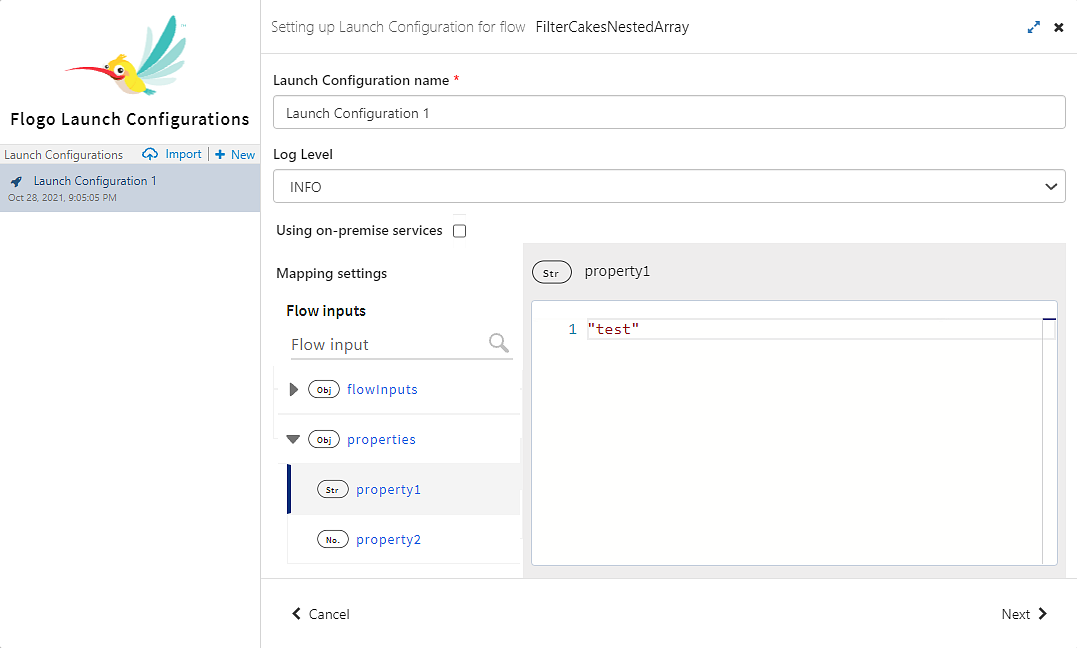
- You can override app property values in the launch configuration. Properties defined in the app and those defined in a connection are listed under properties. Select the property whose value you want to override and specify the new app property value on the right side.Note: For a password, you must provide an encrypted password value. For more information, see Encrypting Password Values.
- Click
Next.
The mapper performs validations to ensure the validity of the JSON structure and also validates that you have entered values for all elements that are marked as required in the schema.If there are any errors in your input, the mapper displays a list of errors. If no errors are found you get the message,
Input settings are alright.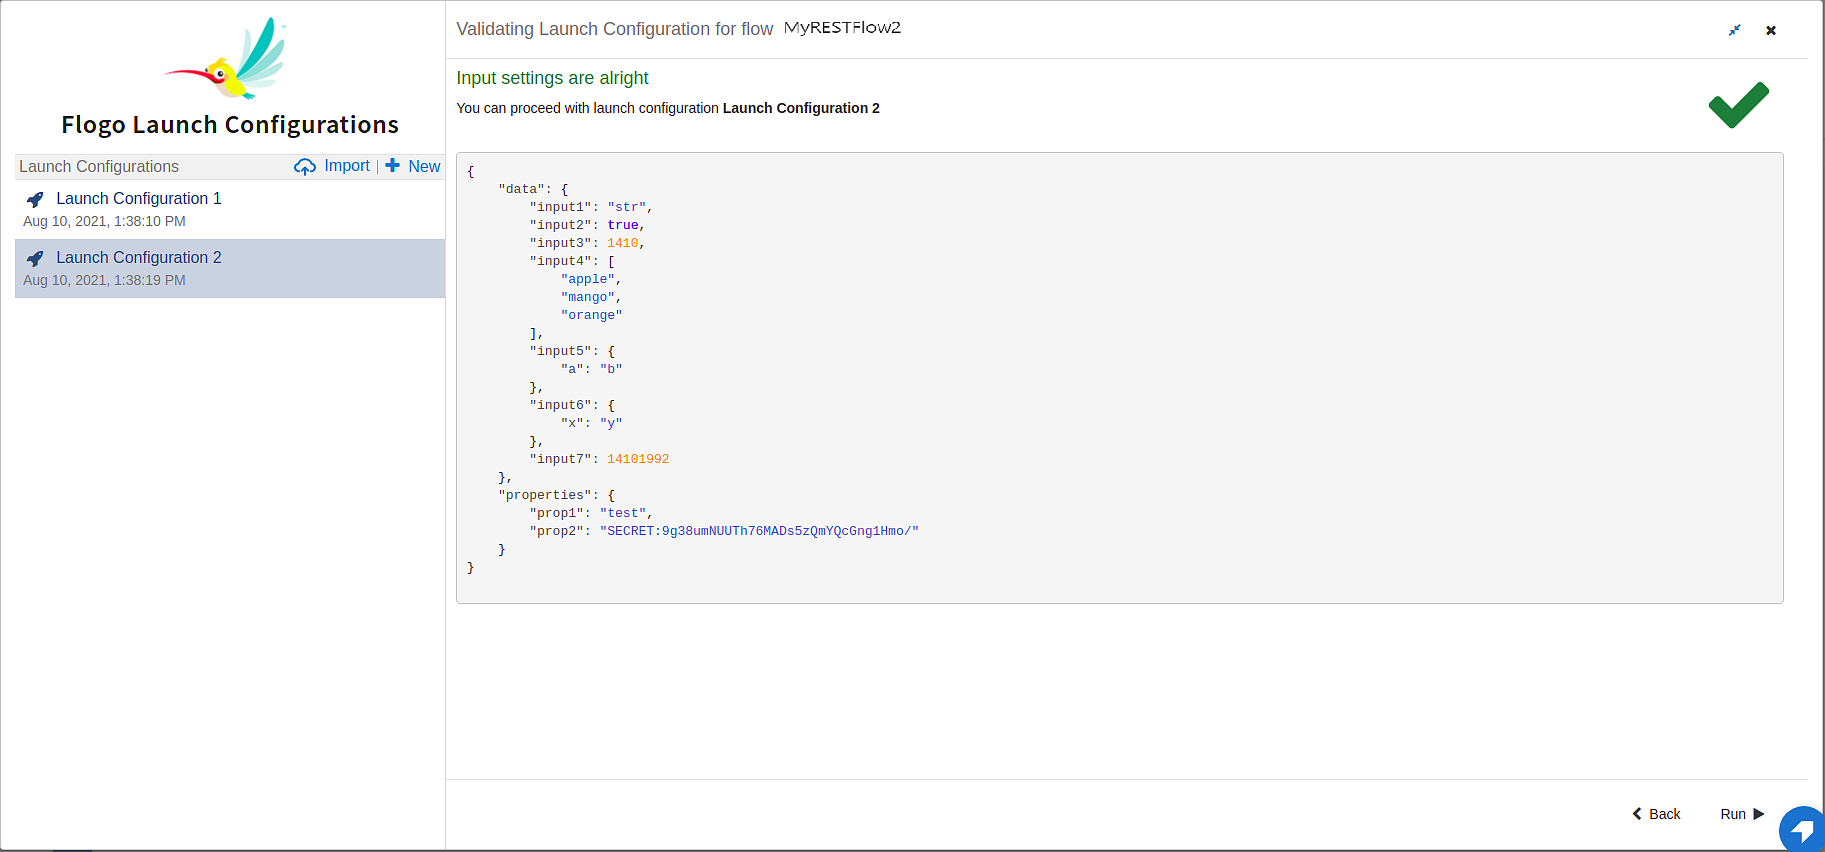
In your test environment, only the validation errors related to invalid JSON structure prevent you from proceeding with your testing. Errors about missing values for required elements serve as a warning but allow you to proceed with your testing. This is because it is possible that an element that is marked as a required field in the schema may not have been used in the activity at the time of testing. In that case, the element is not needed for the flow to run. But in the production environment, your app does not run successfully until you provide input values for all elements marked as required in your schema.